Well, this guide will be the best way to learn How to Make Circular Skirt. Personally, I consider circle skirts to be one of the easiest garments to sew.
There are no darts in this type of skirt, and oftentimes, it is sewn with just two pieces (the waistband and the skirt body).
However, to make the pattern, you will only need one body measurement. Sewing is also a simple task.
Also, you will only need to make two seams if you make it with knit fabrics. The two seams are the ones on the waist and the hem.
So, let’s do this. Just go grab your pattern maker’s paper and a pencil.
What’s a Circular Skirt?
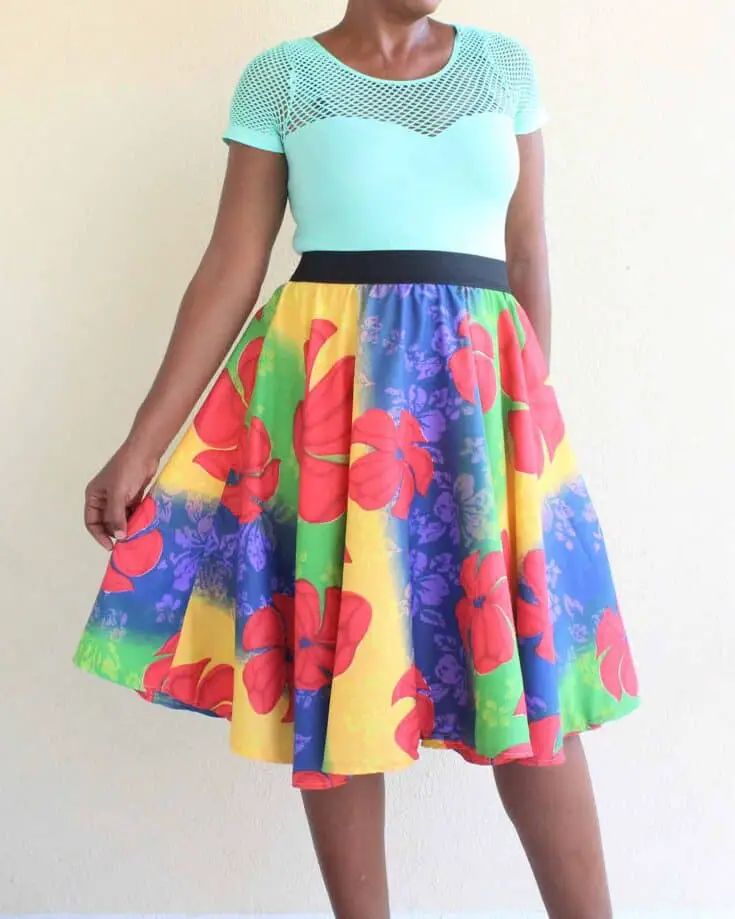
A circular skirt is a skirt made from half, complete, or multiple circles of fabric. You will find a hole in the middle of the circle with a diameter.
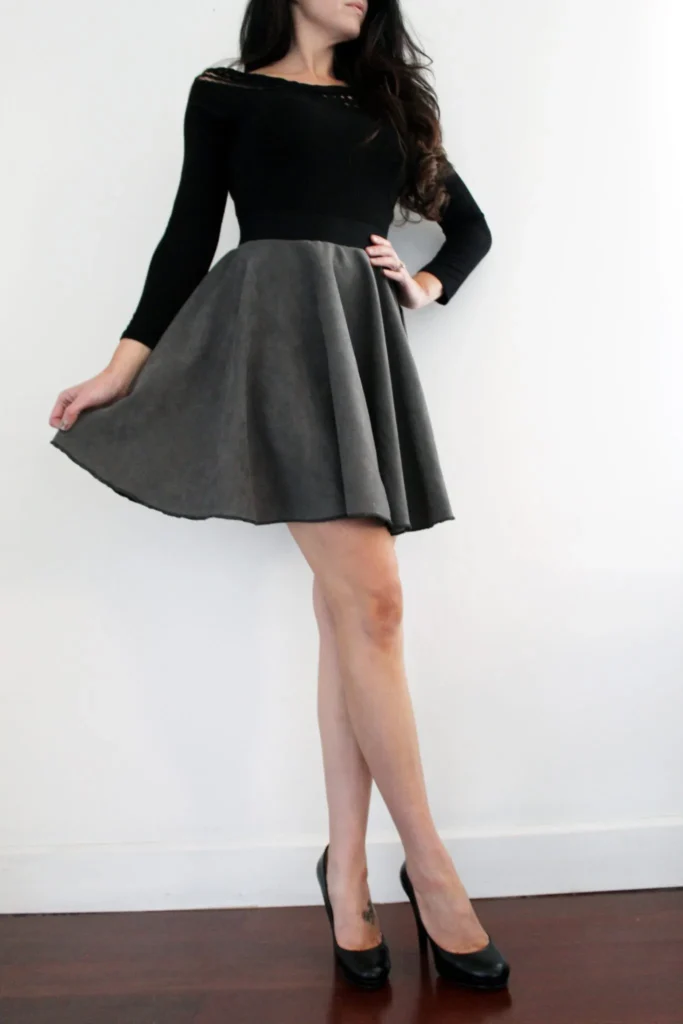
This is how you measure the waist circumference. Skating Length is what they call a circular skirt with a short length.
Normally, circle skirts are cut on the bias, and without pleats or gathers, beautiful waves are made on the fabric.
They are normally cut in a single pattern piece. You can also cut them without any side or back seams if you make them with stretchy fabric.
However, since woven fabrics will not stretch, you must have at least one seam for a closure such as buttons or zippers.
You can do this by adding the seam allowance for each seam to the waist measurement.
Although this will all be determined by how wide your fabric is. The fact is that circle skirts use so much fabric.
And, you will need a fabric wide enough to fit the whole pattern if what you want is to cut it into a single piece.
Instructions for How to Make a Circle Skirt
Circular skirts are all-around clothing items. And a perfect way of personalizing and customizing your wardrobe is by making your own skirt at home.
There are a lot of options you can pick from, ranging from color to fabric to measurement to pattern.
This is a time for you to design something special for yourself. Well, follow these clearly laid-out instructions on how to sew a circular skirt.
Supplies You’ll Need
To begin this lesson on how to make a circle skirt, there’s a list of supplies or materials that you will need.
- Zipper
- Button
- Thread
- Interfacing
- A fitted skirt
- Sewing Machine
- Scissors
- Sewing needle
- Fabric
- Pins
Choose the Fabric
- It is very important to know the right fabric for making the skirt. You will find different types of fabric on the market.
- So, you will need more knowledge to pick the right one for your sewing project.
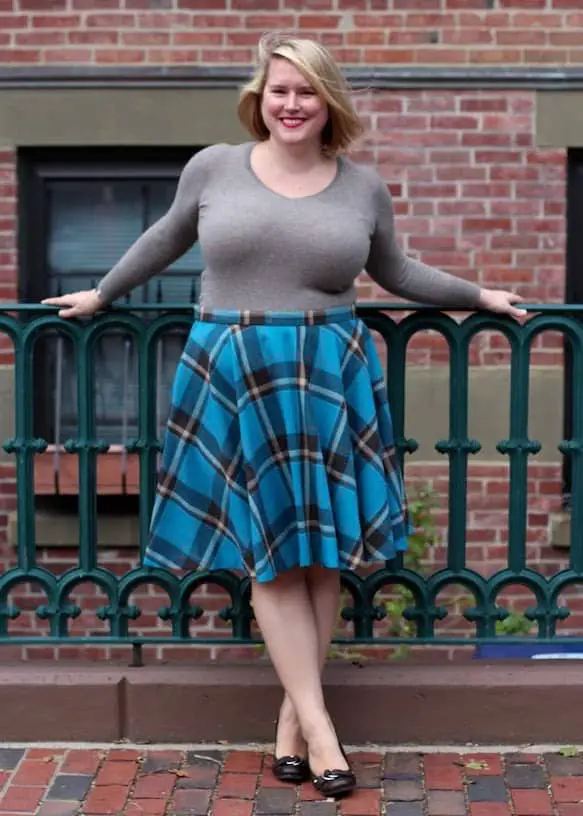
The following are some popular types of fabric that can be used to make circle skirts.
And they include:
- 100% cotton, multi. colors
- Polyester-cotton (65-35?), multi. colors
- Charmeuse polyester satin, red
- 100% linen fabric, white
- Polyester-cotton (65-35%) broadcloth, red
Fold the Fabric
- Now, it’s time to fold your stretch or cotton fabric in half. This is to even the shortest edges. Make sure the longest edges are also even, so fold them again to do that.
Cut the Fabric for the Waistband
- You will need to get a few fabric strips for your waistband at this stage of learning how to make a circle skirt.
- Now, begin cutting them straight and a few inches away from the narrow edge of the open part of your fabric.
- Ensure that you are not cutting the folded edges. Keep those strips aside for some time immediately after you are done.
Use a Fitted Skirt as a Reference
- In this case, you are to follow the pattern of your desired fitted skirt. Fold this skirt four times lengthwise, then proceed to place the waistband over the edges of your folded fabric corner.
- The width of the fitted skirt should also be your guide on how to make a high-waisted circle skirt.
Cut the Bottom of the Skirt
- You will need to first measure from the waist if you want to cut the bottom part of the skirt. Then, proceed to cut the length on both folded edges.
- However, do make sure to mark the spots with a pencil; pins are also good. After that, draw a curved line between the marks you made.
- Then, you need to take your scissors and cut along the curved line. Don’t be concerned if there are a few jagged edges left.
- To cover the minor imperfection, just make sure you hem the bottom edges.
- And, to permit space for seam allowance and a small hem, do ensure that you keep an inch while cutting the skirt.
Check the Width of the Waistband
- Take your fitted skirt and unfold it, and in order to determine the correct waist size, hold the waistband of the fitted skirt against your DIY circle skirt.
Measure the Fabric for the Waistband
- Now it’s time to gather the fabric strips that you created in a couple of steps above. You are to place them next to the waist of your DIY circle skirt.
- You have to start cutting the strip’s edges with the stripes near the waist.
- This will allow you to still have enough fabric for hemming the waistband.
- Also, ensure that you have two strips on top of each other and that the pattern should face each other.
- You will have to take some measurements or just cut a little more fabric than the particular amount you need, given the fact that the waist is a half-circle and the strips are straight.
Sewing the Waistband
- By this stage, you will have your circle skirt in different pieces. Just take those waistband pieces and line them.
- Start sewing them together on the short edges after you’ve picked two waistband pieces.
- Also, start hemming the long edges by folding a half-inch of the fabric over and sewing the edges of this fabric.
Pin the Waistband to the Circle Skirt
- Take your waist and pin it onto the waistband of your fabric or skirt after you’ve opened your circle skirt and laid it on a flat surface.
- Remember that the print side of the waistband should face the print side of your DIY circle skirt.
- Also, make sure that the DIY circle skirt edges and waistband edges are even. Just start by pinning one edge and pinning the opposite edge.
- Also, pin on the halfway point of the waistband and right between the two pins in the next step.
Attach the Waistband
- You need to sew it along the circle skirt’s waist immediately after you’ve pinned your waistband in place.
- When attaching the waistband, use a zigzag stitch, and as you proceed, get rid of the pins.
- The pieces of the fabric need to be smooth and even, so do not stretch as you sew.
- You can flip the waistband fabric over and tuck it into the waist immediately after you are done.
Fold the Edges of the Skirt’s Bottom
- It is quite important to fold the edges over before you start hemming the circle skirt. You also need to pin the edges and fold them as you proceed.
- This is if you want the hem to be even. Just start creating a fold about half an inch from the skirt’s bottom edge.
- You can also start with a basting stitch and mark the hem fold; that is another way to do it.
- From your DIY circle, you are to sew a basting stitch about half an inch away and then use it as a base to fold the material and sew the hem.
- You also need to fold along the stitch and either remove or fold the basting stitch over the edge and sew at last.
- You can try sewing a ribbon on the inner edge of your skirt’s bottom if you intend to achieve 100% accuracy.
- The ribbon will provide some structure here and add some body to your DIY circle skirt. Just fold the ribbon and sew again.
Hem the Skirt
- Here, you are to use a regular stitch and start sewing the hem. You can also start with a basting stitch if you think you might have made some mistakes.
- You can then proceed with the regular stitch when you are happy with the results. When hemming a skirt, you also need to exercise a lot of patience, as there are some curved edges involved.
- Before you proceed to sew, you can iron the edges, as it will decrease the chance of fabric puckering.
Give a Finishing Touch and Wear Your Skirt
- Some finishes will make your skirt look more gorgeous, as you have just followed all the steps and have made an incredible circle skirt for yourself.
- Get rid of any excessive or loose threads on your waistband and the hem immediately after you finish the hem. Your circle skirt is ready after this step.
Conclusion
It is quite obvious now that learning how to make a circular skirt is easy.
From now on, you shouldn’t waste more money buying ready-made circle skirts from stores.
Given the fact that you can now make one for yourself at home with the pattern and fitting size you need.
Also, make sure that you give your DIY circle skirt a personalized touch. This will be the wrap-up on how to make circular skirt.