When your hips or waist do not fit in the right way, then buying jeans or pants becomes a difficult task.

Well, let’s look at how to make jeans fit your waist. There are some reasons why you might be here, one of which is whether you are having issues when it comes to buying jeans for yourself.
Or, whether your favorite jeans are just too big and do not look good around your waist area.
You might also have the perfect fitted jeans, but they are too loose around the waist area.
Whatever the reason, the main objective of this guide is to teach you how to make jeans fit your waist.
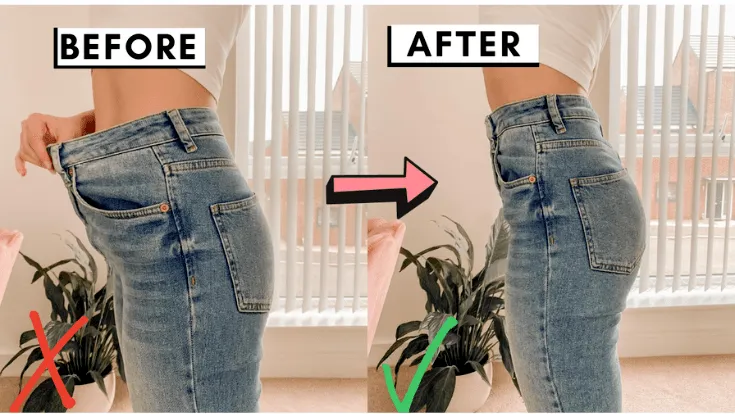
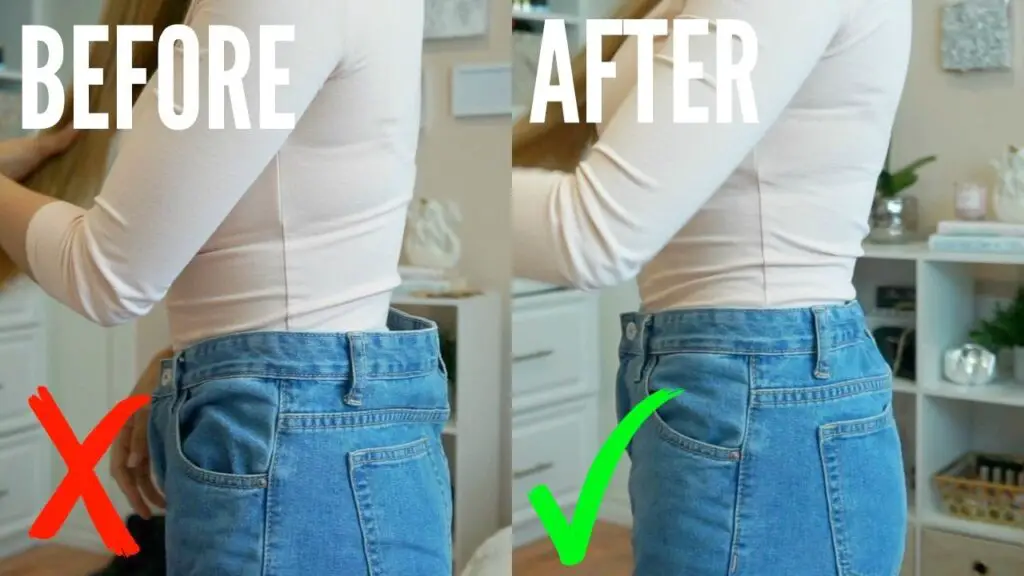
The good news is that you don’t need to give out those jeans, as with the help of some sewing methods and techniques, you can make your jeans’ waist smaller.
For making this small alteration, some professional tailors charge around $10 to $45, so you will be saving yourself some money as you will be doing this on your own.
How to Take In the Waist of Your Jeans
This is a simple hack to adjust the waist of your jeans with no sewing needed.

With this method, you can easily make your pants’ waist smaller. This is a jeans hack, the perfect way to resize your jeans’ waist.
Materials
- Hair Pin
- Shoelace
- Scissors
- Jeans you want to adjust
Laid-Out Instructions
- The first step is to make a small cut in the waistband of your jeans, about 1 inch from the zipper on the inside of the jeans.
- This can be done using a sharp pair of scissors. You are to make sure that your cut is big enough to thread through a shoelace.
- Do the same thing for the other side of the waistband. That being done, you will now have a total of two cuts.
- You need to be careful to only cut through one layer of the waistband, so avoid cutting through both layers.
- After that, you are to hook up a safety pin or hairpin to one end of the shoelace. In the hole you made in the first step, you are to thread the shoelace through it.
- Until the safety pin comes out through the other cut you made, you are to keep working the shoelace between the two waistband layers.
- So, to give you the perfect fit, all you need to do is tie the shoelace when you put on the jeans.
- And, not to worry, the shoelace will not be visible as it will be completely covered.
How to Make Jeans Waist Smaller
- You actually need to ensure that your jeans are fully worn in before you start trying to adjust the waist.
Move the Front Button
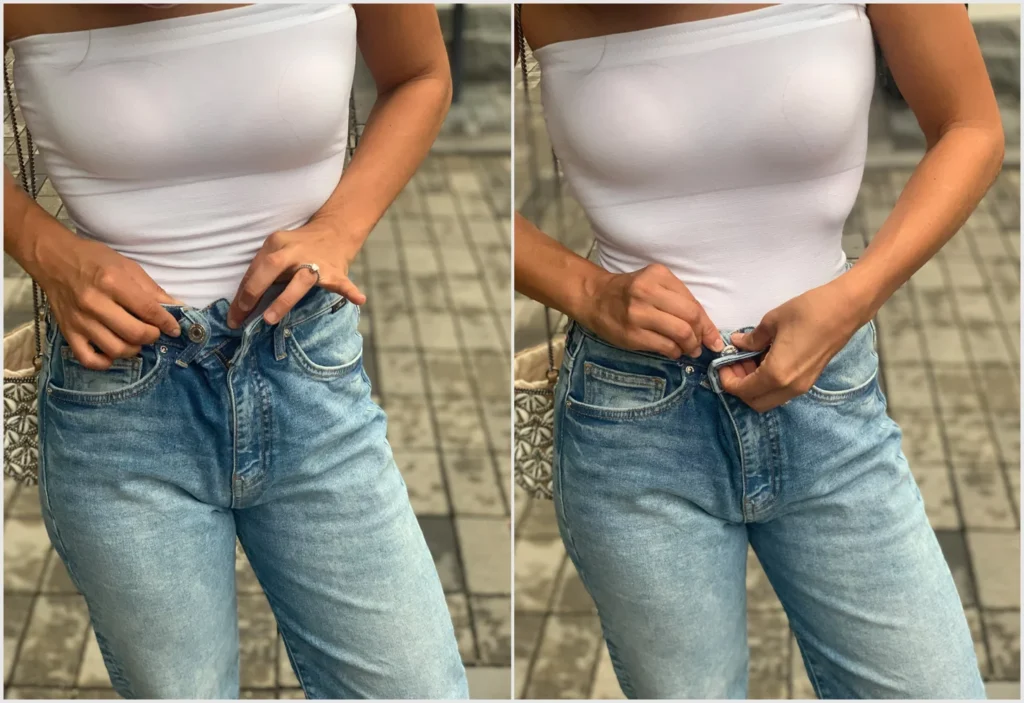
- Here is another method and technique you can use to make your jeans fit your waist. All you need to do is try moving the front button on your jeans.
- Use the guidelines below to move the front button of your jeans, as this will help make the waist smaller and fit better.
- So, the first step is to remove the button from the pants using small embroidery scissors or a seam ripper.
- After that, proceed to try the pants on and then move the buttonhole past the old button spot.
- You are to stop when the waist gets comfortably tight. With that being done, you are to then mark the spot on the button side of the waistband.
- Then take the jeans off and sew the button back onto the new button spot using a needle and thread.
I will also suggest that you check whether you need to fix the zipper on the jeans while you are working on the crotch.
Taking in the Sides of Your Jeans
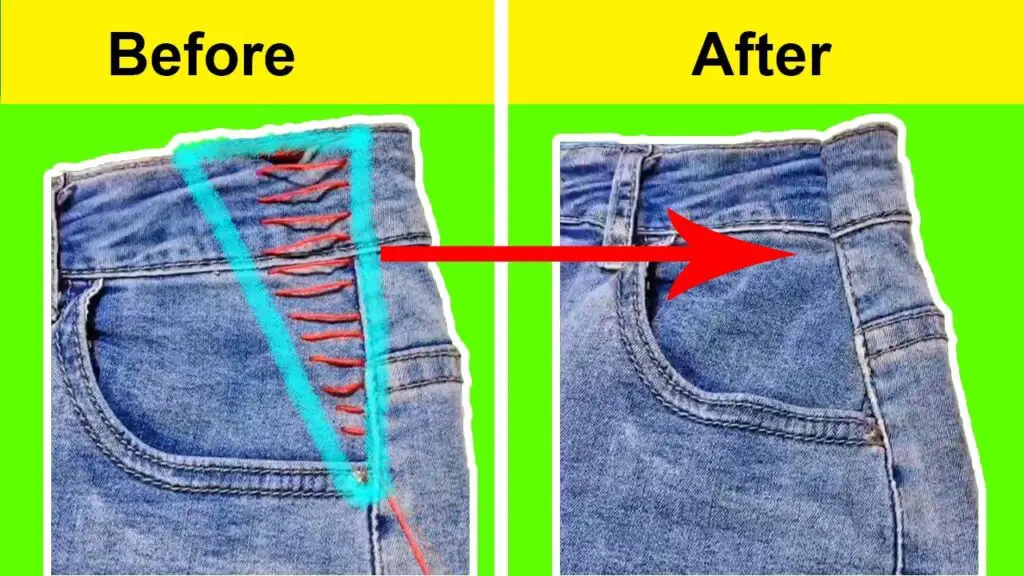
Still, on how to make jeans fit your waist, you can also do that by taking in the sides of your jeans.

Follow the laid-out instructions below to take in the sides of your jeans, as this will help make the waist smaller.
Turn Your Jeans Inside Out and Put Them On
- Until you get the right fit in the waist, you are to pinch the waistband on each side, then try to pinch an equal amount on both sides as this will make your jeans sit evenly after the alteration.
Carefully Put the Pins in the Waistband on Each Side Where You Have Pinched the Fabric
- Make this as close to your waist as possible. Continue pinning down the sides of the jeans where you can pinch the loose fabric.
- You are to pin as much as you would like to, as this is based on how you would like the jeans to fit.
Carefully Take Your Jeans Off
- That being done, you can now sew each side of the jeans along the pinned line. Compared to an average and higher tension, I suggest you use a strong denim needle with a longer stitch length.
Go Over the Stitches Again With a Backstitch
- To secure the stitching in place, you can reverse back over your stitches at the beginning and end.
Try Your Jeans On Again and Check the Fit
- And, if something is off, you can always take out your stitches and try again.
If You Are Happy with the Fit but Feel like the Excess Fabric inside the Jeans Is Too Bulky
- Well, if that is the case, you can always cut it out. However, to prevent the fabric from unknotting, I suggest you leave a ¼ inch (0.64 cm) border outside the stitching. Or else, you can just leave the material in.
Use Binder Clip
- To do this, first put on your jeans and close the buttons. Then, after that, you are to pinch the jeans until you get the side fit of your waist size.
- Make sure you keep your jeans by the top of the waist while doing that. With that being done, you can now clip your binder on one side of the waist.
- Also, do the same for the other side, as this will complete the steps on how to make jeans fit your waist.
This will definitely make your jeans smaller, so you now have the perfect methods to make your large jeans waist smaller if you have one you intend to adjust.
Conclusion: How to Make Jeans Fit Your Waist
Using some easy methods that have to do with binder clips, rubber bands, or safety pins for a quick fix, you can successfully adjust your pants at the waist.

As previously discussed, to tighten the waistband just a little bit, you can also move the button to the side and then pull the original buttonhole over it.
You can insert a new elastic in pants with an elastic waist. Make sure the new one has a tighter strip of elastic, as this will make the waist smaller.
So, choose whatever method you think is best suited for you and your needs. That being said, this concludes this guide on “How to Make Jeans Fit Your Waist.”


